
Japanese style milk buns are my current favorites to bake. They are very versatile and satisfying to make. I had my fair share of failures but when successful, it’s such a nice feeling to knead and shape because of their elasticity and softness.
The dough can prepared with a standing mixer, sophisticated machines like a bread maker, magimix, thermomix or simply kneading by hands. In my case, I used a mix of standing mixer and hand kneading.
The whole process may take from 3.5 – about 5hrs from prepping the dough, proofing, resting, shaping and baking. It’s a long process but totally worth it! The ingredients are rather simple for the plain buns. And you may wish to add fillings if preferred. I’ll be sharing both versions…
Plain buns – ingredients (makes 8 – 9 buns)
- Fresh milk (cold) – 80ml
- Whipping cream/ thick cream (cold) – 80ml
- Large egg – 1 (cold or room temp is fine)
- Salt – 1/2 tsp
- Sugar – 2 tbsp
- Bread flour – 2 cups
- Yeast – 1 tsp
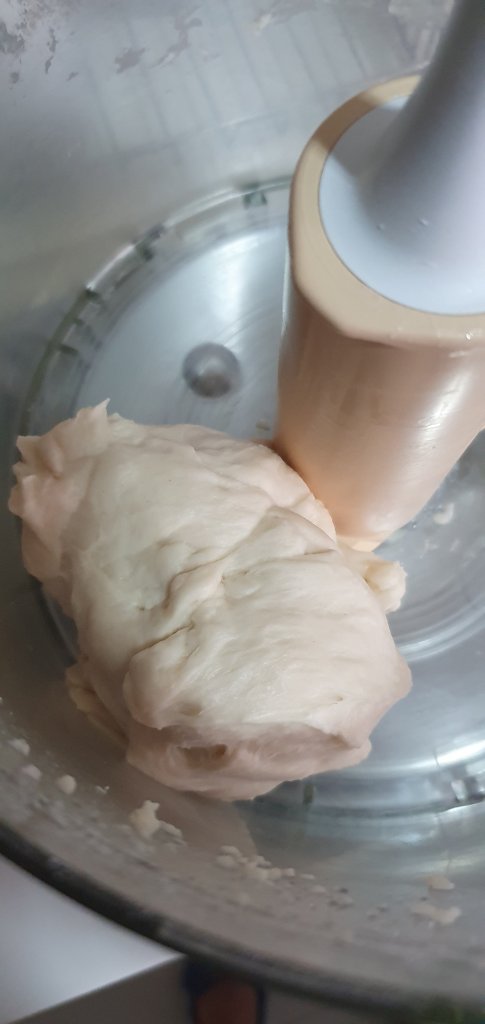
Step 1: Add items 1 – 7 into the standing mixer with hook dough. Start the machine on slow speed to combine everything (about 5min).
Step 2: When everything sticks to the hook and forms a dough, add the yeast and turn the machine to medium speed. Let it run for about 20min to incorporate the yeast fully and forms a slightly shiny dough or when the sides of the bowl becomes clean.
Step 3: Remove the dough and shape it into a ball, and let it rest for 1 – 2 hrs till it becomes double it’s size

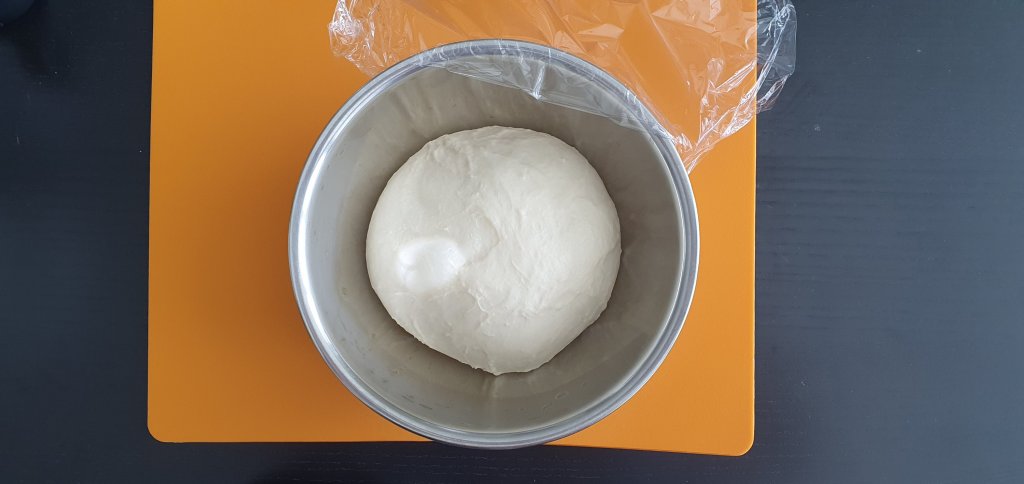
Step 4: Wet a finger to test if the dough is ready. The dough should not bounce back
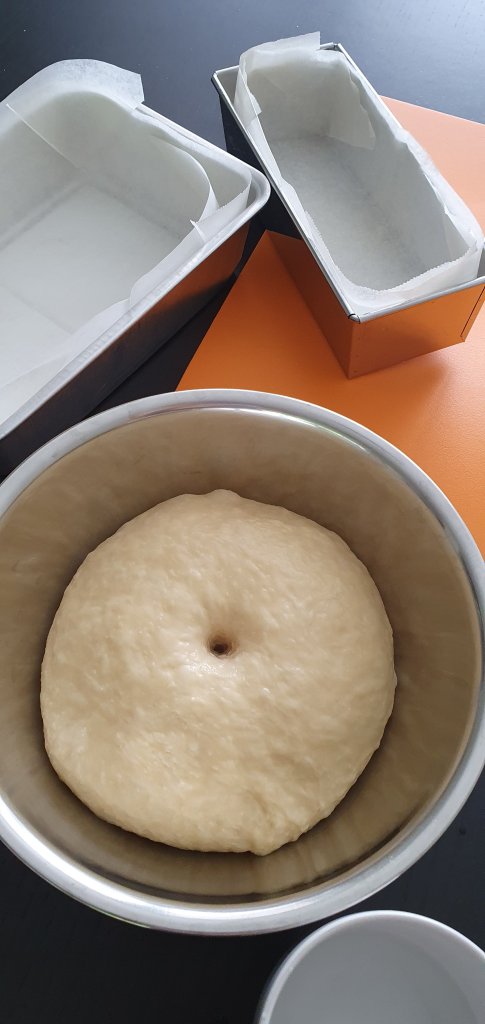
Step 5: With the proofed dough, gently use fist to punch down to release the air. Then release the dough into a lightly floured surface if worried about dough sticking.
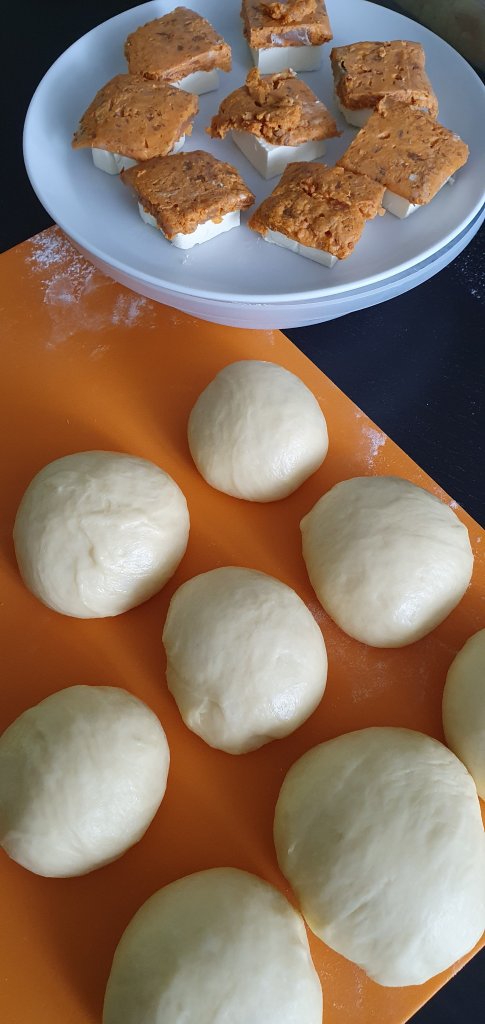
Step 6: Divide the dough into 8 or 9 parts depending on the mold you have or if adding fillings. If I’m making them plain, I’ll divide them into 9 pieces. If adding fillings, divide to 8. I did not weigh them, just roughly divided so some maybe smaller than others, they still work.
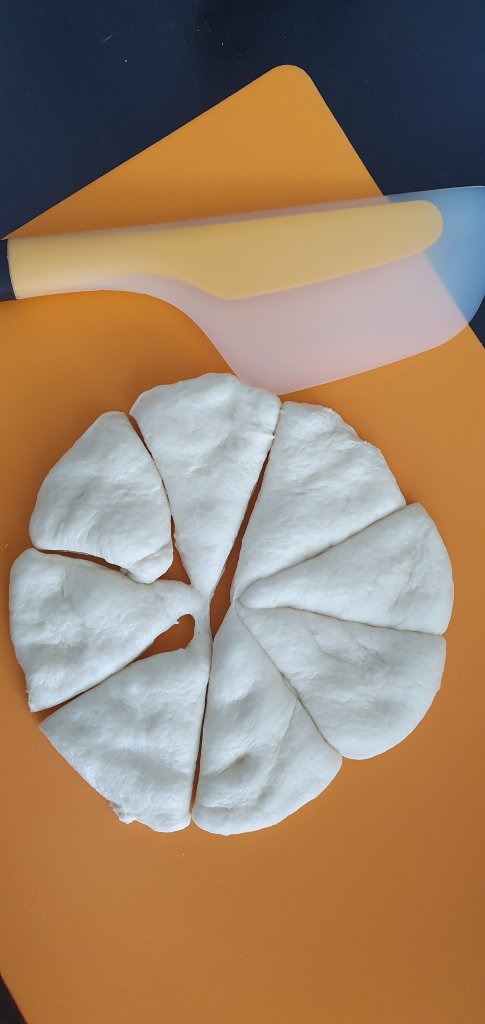
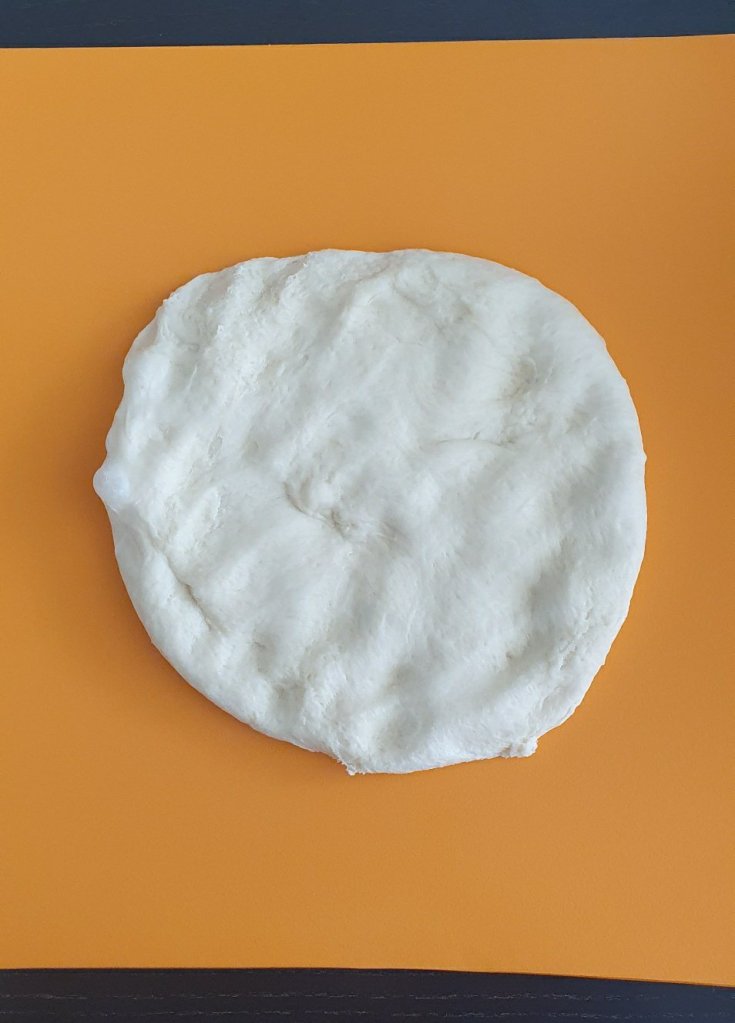
Step 7: From the triangular dough, shape them into balls and let them rest for 15min and they should increase about 20% or more.
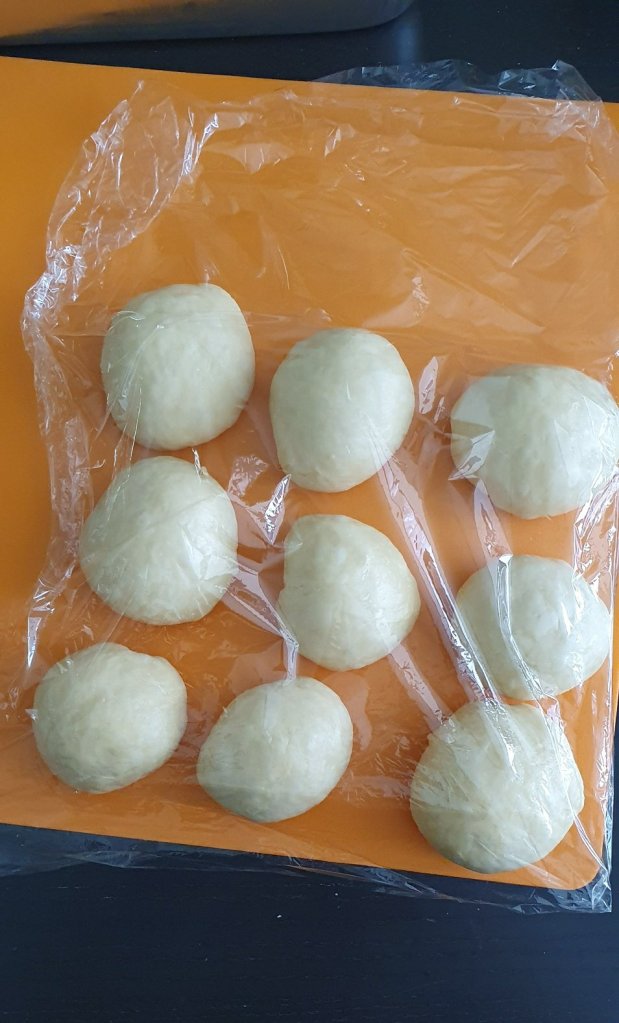
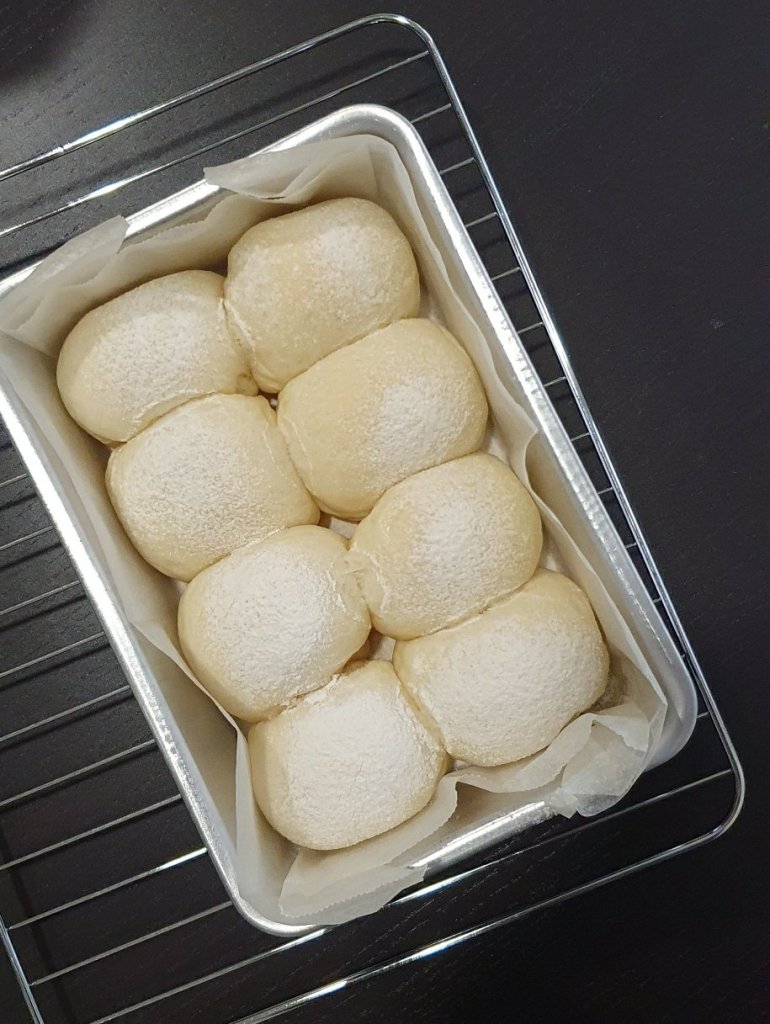
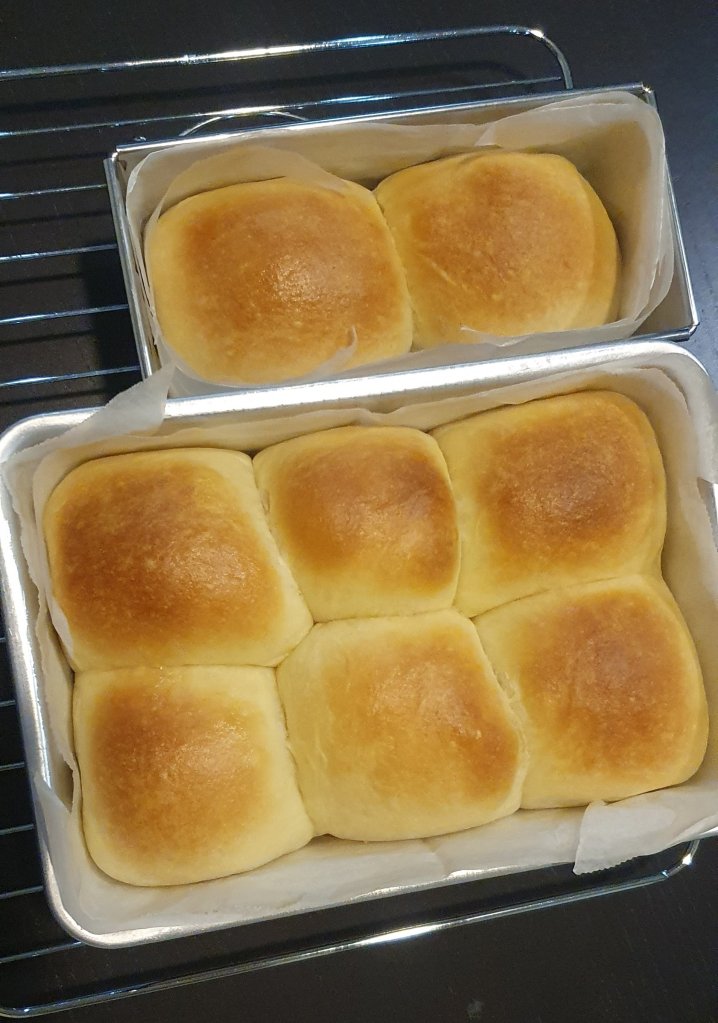
Step 8: If I’m making plain buns, they can be shaped anyway your heart desires. Mine were prepared in a few ways. Pull apart buns, knots and rolls… when they are shaped to their final forms (see step 9 for version with filling), leave them to rest for another 60min or so till they rise to double their size. Then they are ready to bake.

Step 9: if fillings are preferred, they should be dry and easy to handle so wrapping will not be messy. I used otak (ground fish meat with a mixture of coconut milk and spices, usually grilled. I used frozen otak from supermarket, cut into equal portions and toasted them) then topped with cheese (cream or mozzarella or any kind really).
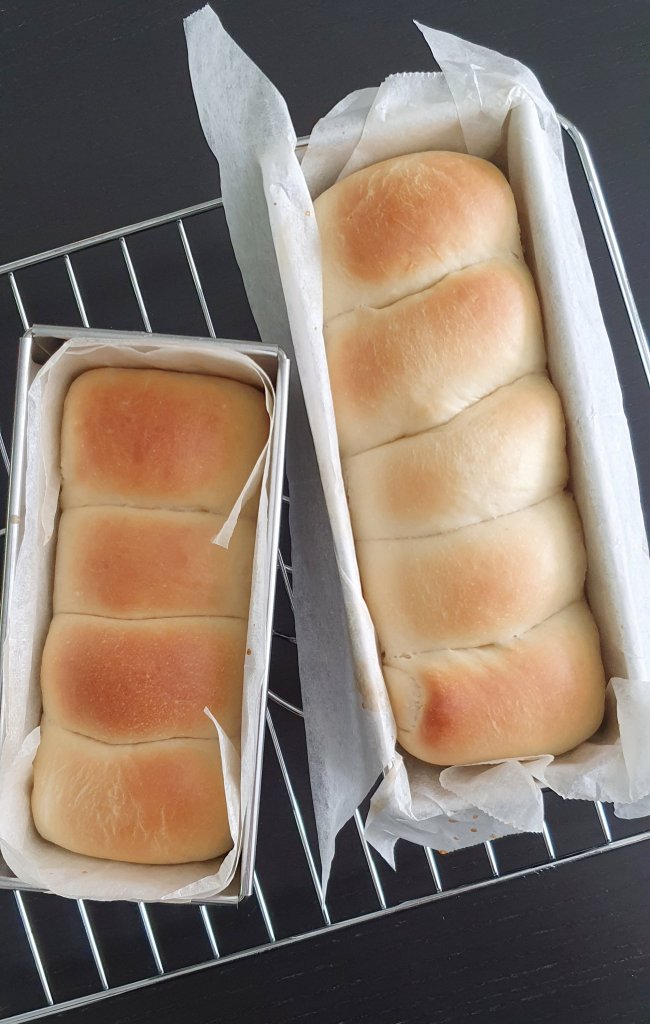
After fillings are wrapped, shaping into balls are the easiest. As usual leave them to rest for an hour till they rise to double their original size. Brush on some milk before baking at 180degc for about 20 – 30min. When they come out of the oven, brush with some melted butter for the shine. And the buns just upped their yummy factor!
Hope you’ll enjoy making these little soft and fluffy babies as much as I did.
